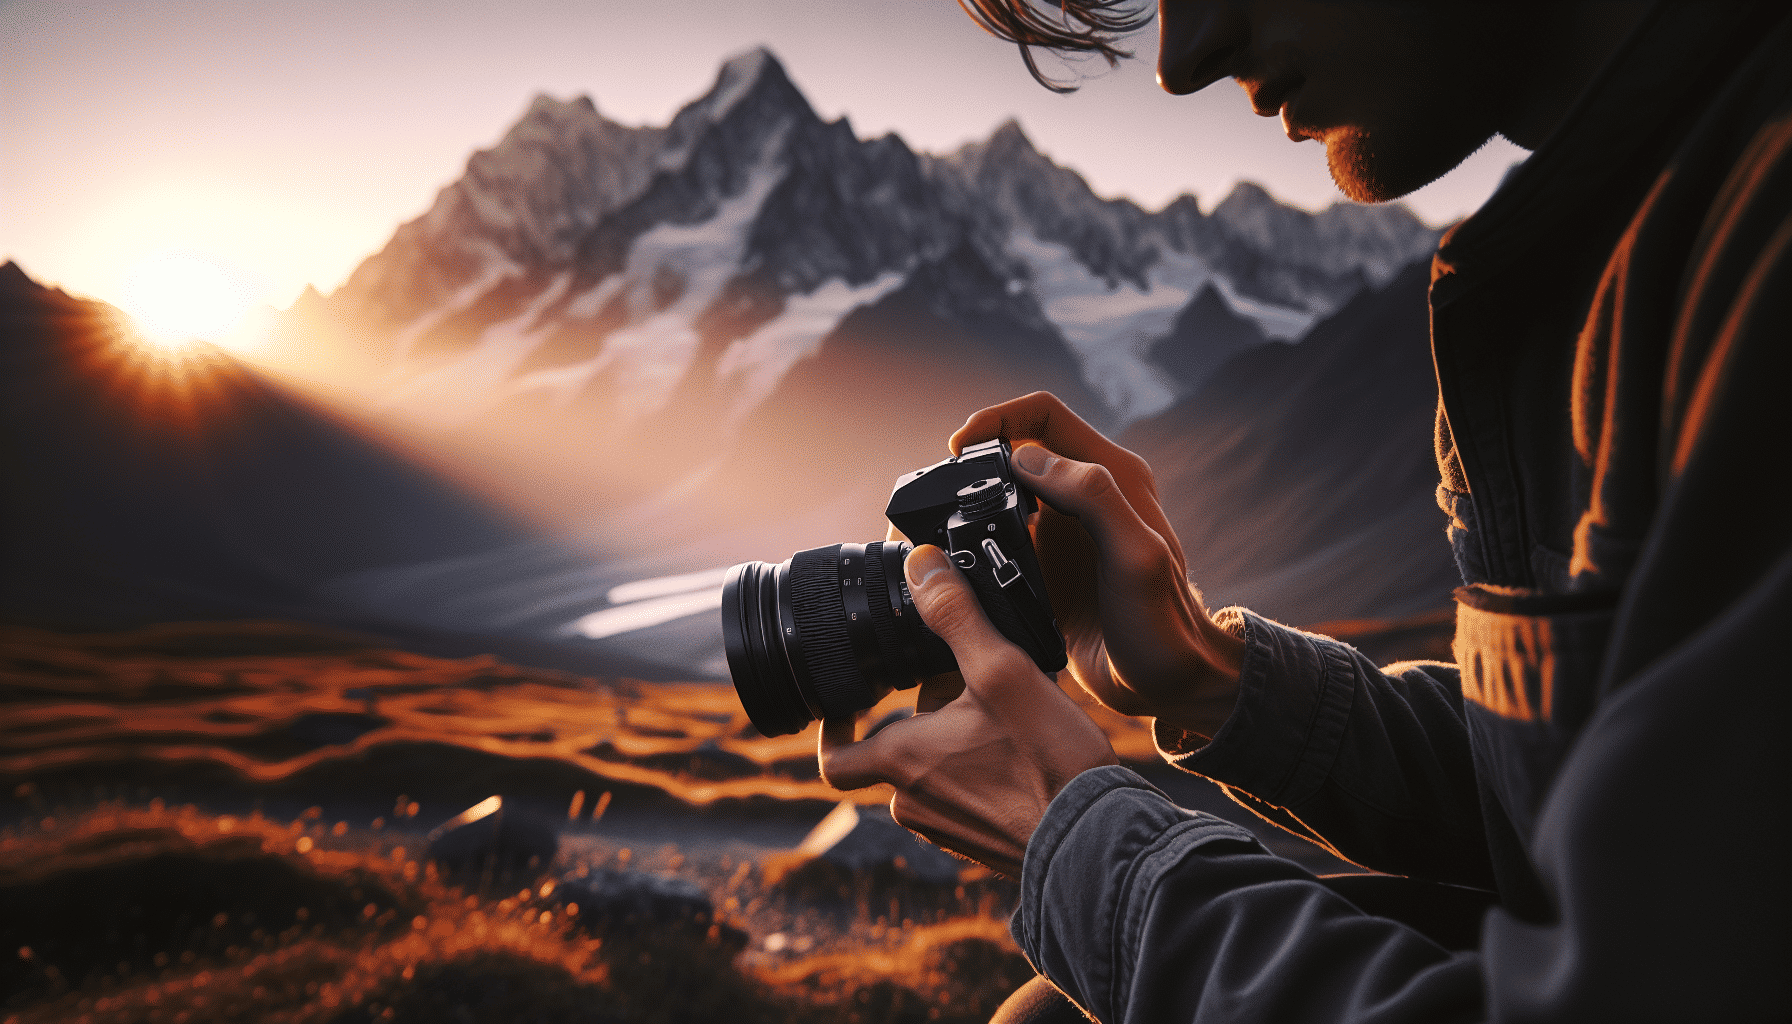
Mastering the art of adjusting camera settings can elevate your photography skills and help you capture stunning images in various conditions and styles. Whether you're shooting landscapes at dawn or portraits at an outdoor event, understanding how to fine-tune your camera can make all the difference. Below, explore essential tips for adjusting your camera settings.
Understanding Exposure
The foundation of great imagery is proper exposure, which involves balancing three elements: aperture, shutter speed, and ISO.
-
Aperture: This setting controls the amount of light entering the camera. A smaller f-number (e.g., f/1.8) allows more light, creating a narrow depth of field perfect for isolating subjects. Conversely, a larger f-number (e.g., f/16) suits landscape photography by keeping more of the scene in focus.
-
Shutter Speed: This determines how long the camera’s sensor is exposed to light. Fast speeds (e.g., 1/1000s) freeze motion, suitable for action shots. Slow speeds (e.g., 1/4s) can create motion blur, adding a dynamic feel to subjects like flowing water.
-
ISO: This setting affects the sensor's sensitivity to light. Lower values (e.g., ISO 100) produce clearer images with little noise, ideal for bright conditions. Higher values (e.g., ISO 3200) are necessary for low-light scenarios but can introduce grain.
Focusing for Clarity
Accurate focusing is crucial. For static subjects, use single-point focus to ensure sharpness. When capturing moving subjects, continuous or tracking focus can maintain clarity throughout the action.
Adjusting White Balance
White balance impacts color accuracy. Auto white balance is generally reliable, but manual adjustments can compensate for unusual lighting, such as the warm tones of a sunset or the cool hues of a cloudy day.
Exploring Specific Styles
-
Portraits: A wide aperture (e.g., f/2.8) will yield a beautifully blurred background, highlighting your subject. Consider using a mid-range ISO to adapt to lighting variations.
-
Landscape: Aim for a smaller aperture (e.g., f/11) to keep the scene crisp from foreground to background. Utilize a tripod for sharp images at slower shutter speeds.
-
Street Scenes: Flexibility is key. Utilize a medium aperture (e.g., f/5.6) and a faster shutter speed to swiftly capture candid moments.
Utilizing Advanced Techniques
-
Bracketing: This involves capturing multiple exposures of the same scene to ensure detail in both highlights and shadows. It's particularly useful in high-contrast situations.
-
Long Exposure: Create mesmerizing effects like light trails or silky water by using a very slow shutter speed. Remember a tripod to maintain stability.
Practice and Experimentation
Practice is vital. Spend time experimenting with various settings in different environments. Explore modes like aperture priority or manual to deepen your understanding and control.
Understanding and mastering these camera settings aren’t just technical abilities; they're your passport to creative freedom. As you become more adept at choosing the right settings for each situation, capturing breathtaking, memorable images will become second nature.